Adding Payees
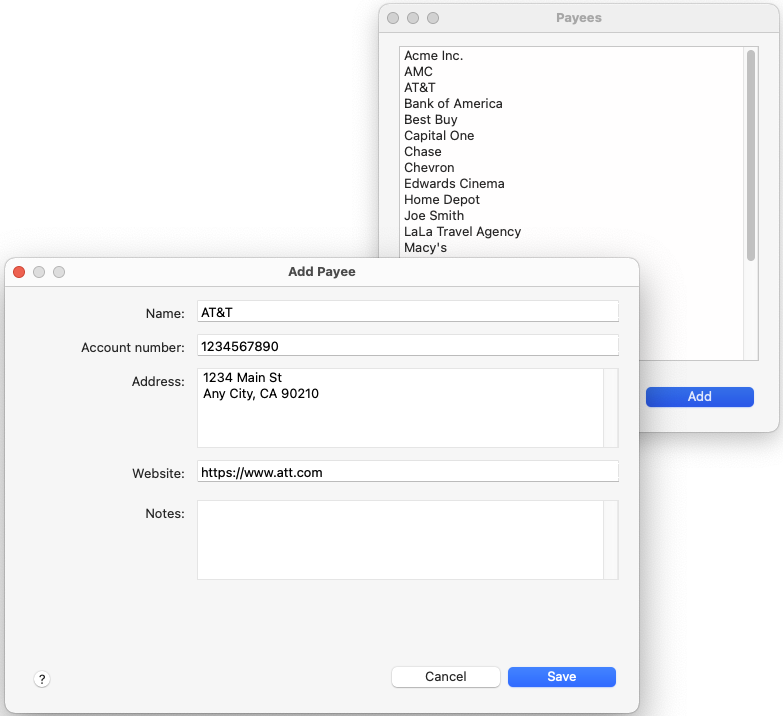
Payees let you specify to whom your money is going to. For example, when inputting a transaction for your electric bill, you can specify the payee as your electric company. Normally you don't have to manually add payees because they are automatically added when you input your transactions, however you may want to manually add or edit your payee list. To add or edit a payee, click on the Tools > Payees menu option and then click the Add or Edit button. Below is an explanation of the fields you have to fill in:
Name
The name of the payee. This can be anything you want, such as "Electric Company."
Account number
The reference account number for the payee. For example, this can be your electric bill's account number. This is optional, and is used solely for your convenience.
Address
This is the payee's mailing address. This is optional.
Website
This is the payee’s website. It will allow you to right click on a reminder or transaction and go to the payee’s website so you can for example easily make an online payment or see your bill. This is optional.
Notes
These are any notes you want to enter about the payee. This is optional.
Payee closed
This hides the payee so that it is not available in the payee list when adding transactions, thus allowing you to reduce clutter by hiding old/one-time use payees.
Merging Payees
Sometimes you may want to merge multiple payees into one. To do this, highlight the payees you want to merge and click the Merge button.