Getting Started
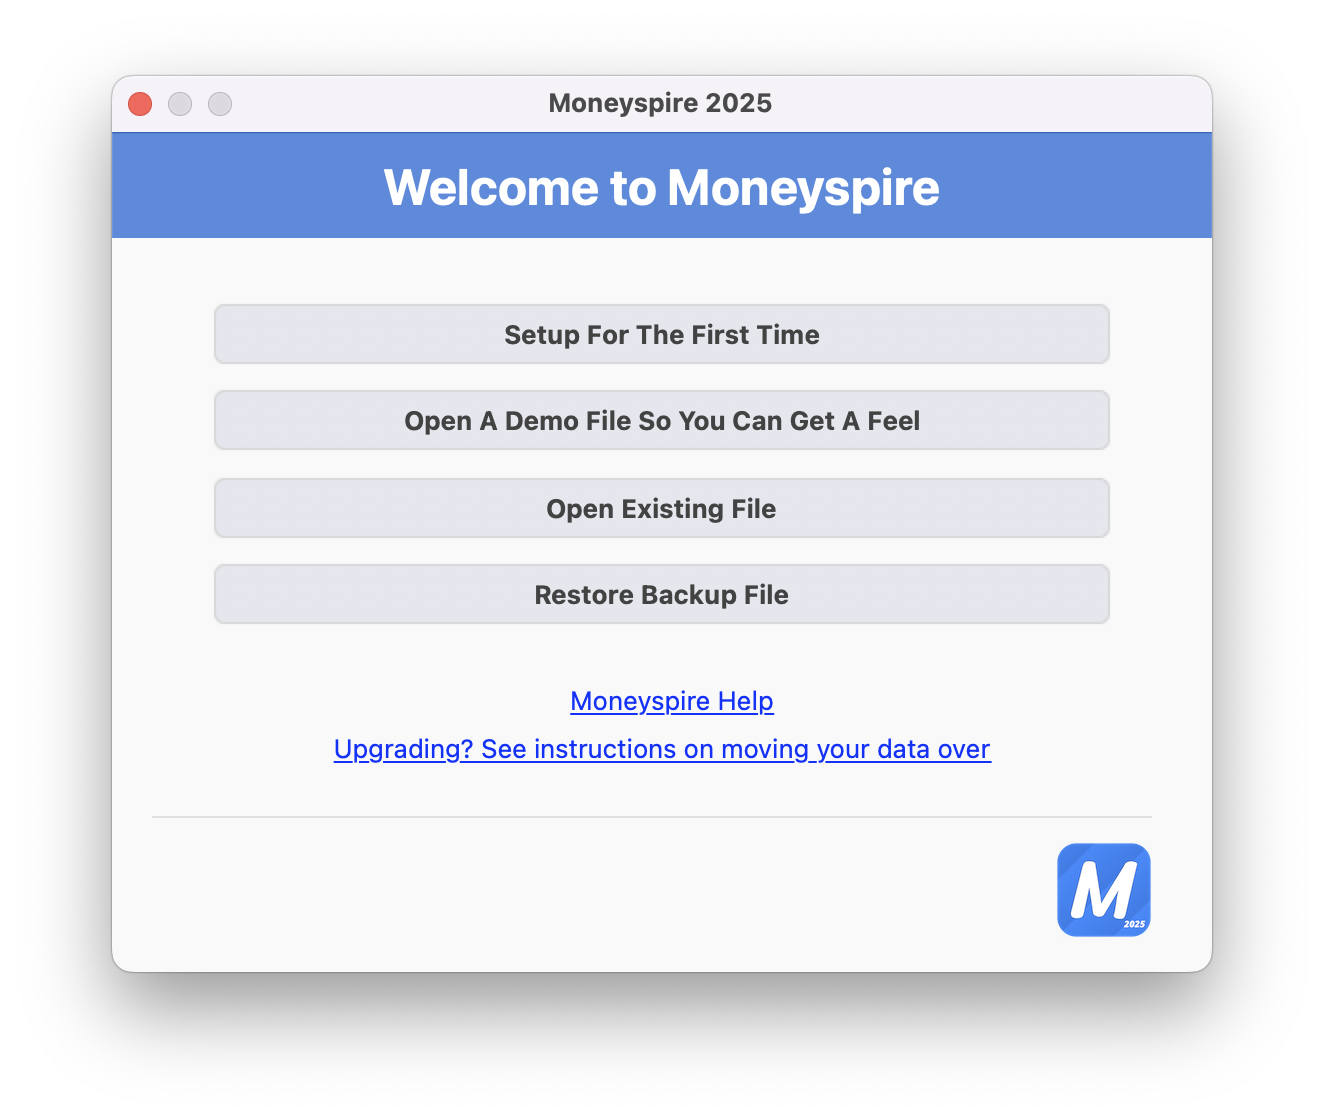
Getting started with Moneyspire is easy. When you first start the program, you will be greeted with the welcome screen. Select the first option labeled Setup for the first time, and follow the simple instructions:
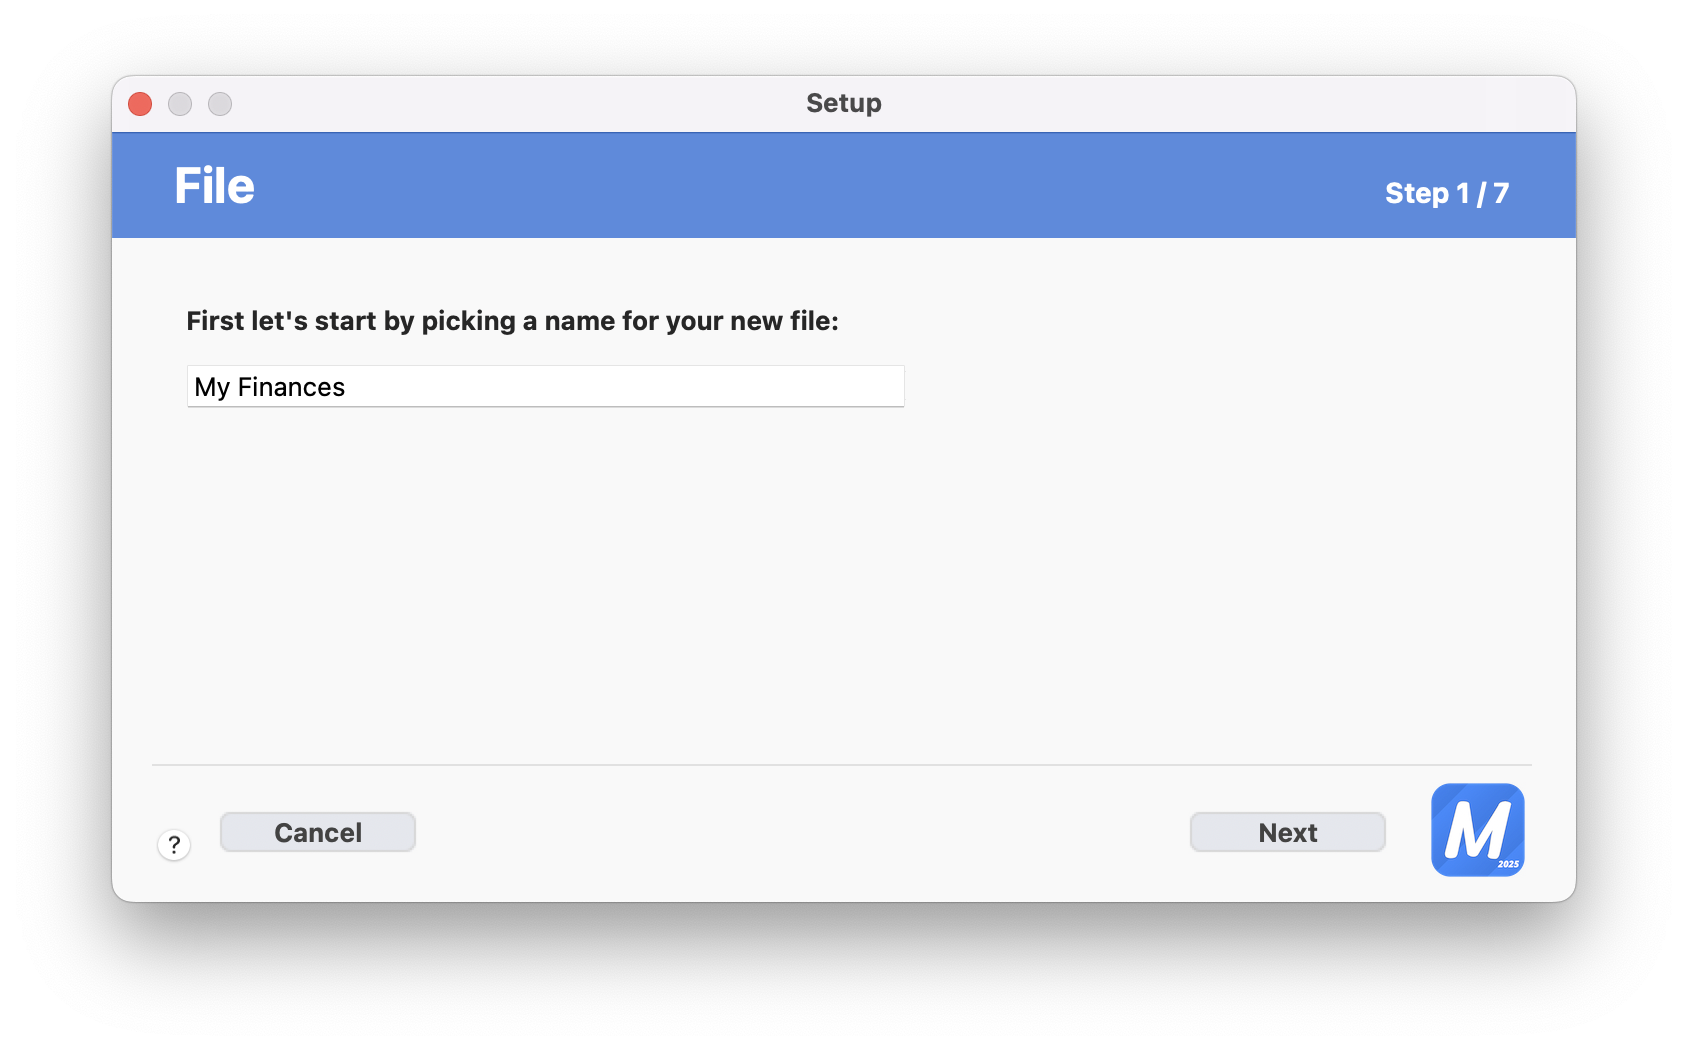
Step 1
In step 1, you have to enter a name for your new Moneyspire file. This can be any name you want, and the default is "My Finances." Once you have entered a name, click the Next button to proceed to step 2.
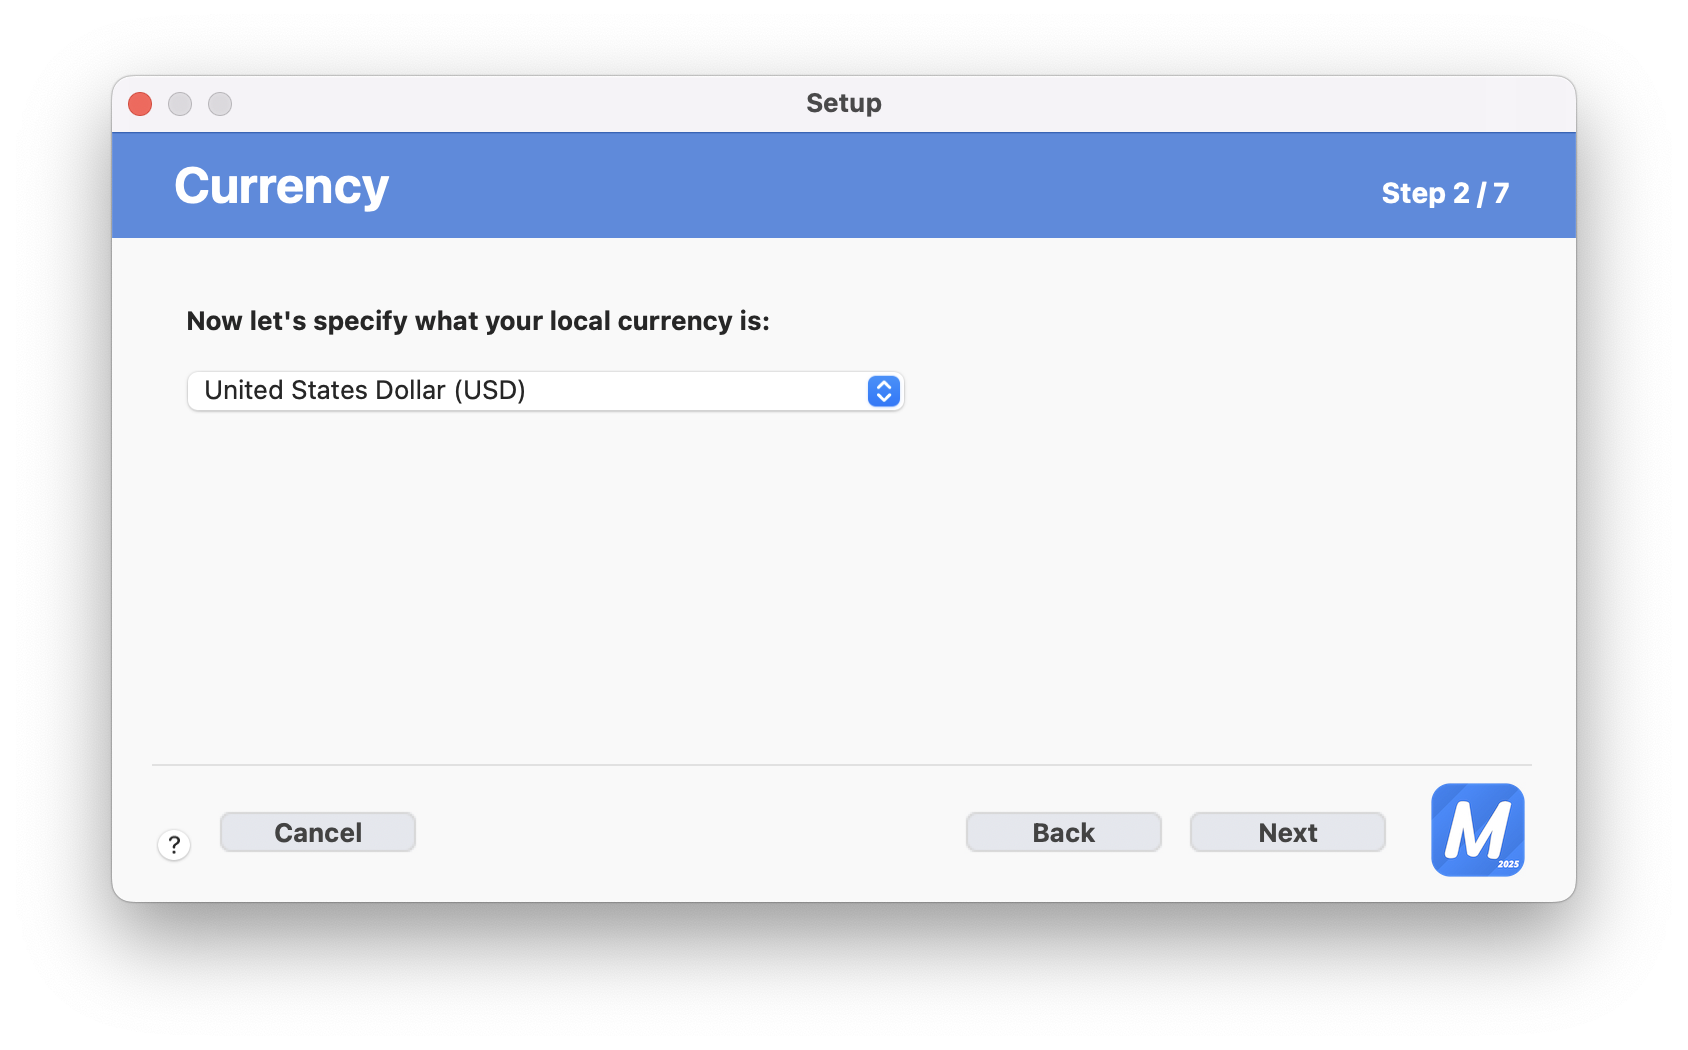
Step 2
In step 2, you have to select your local currency. Once you have selected your currency, click the Next button to proceed to step 3.
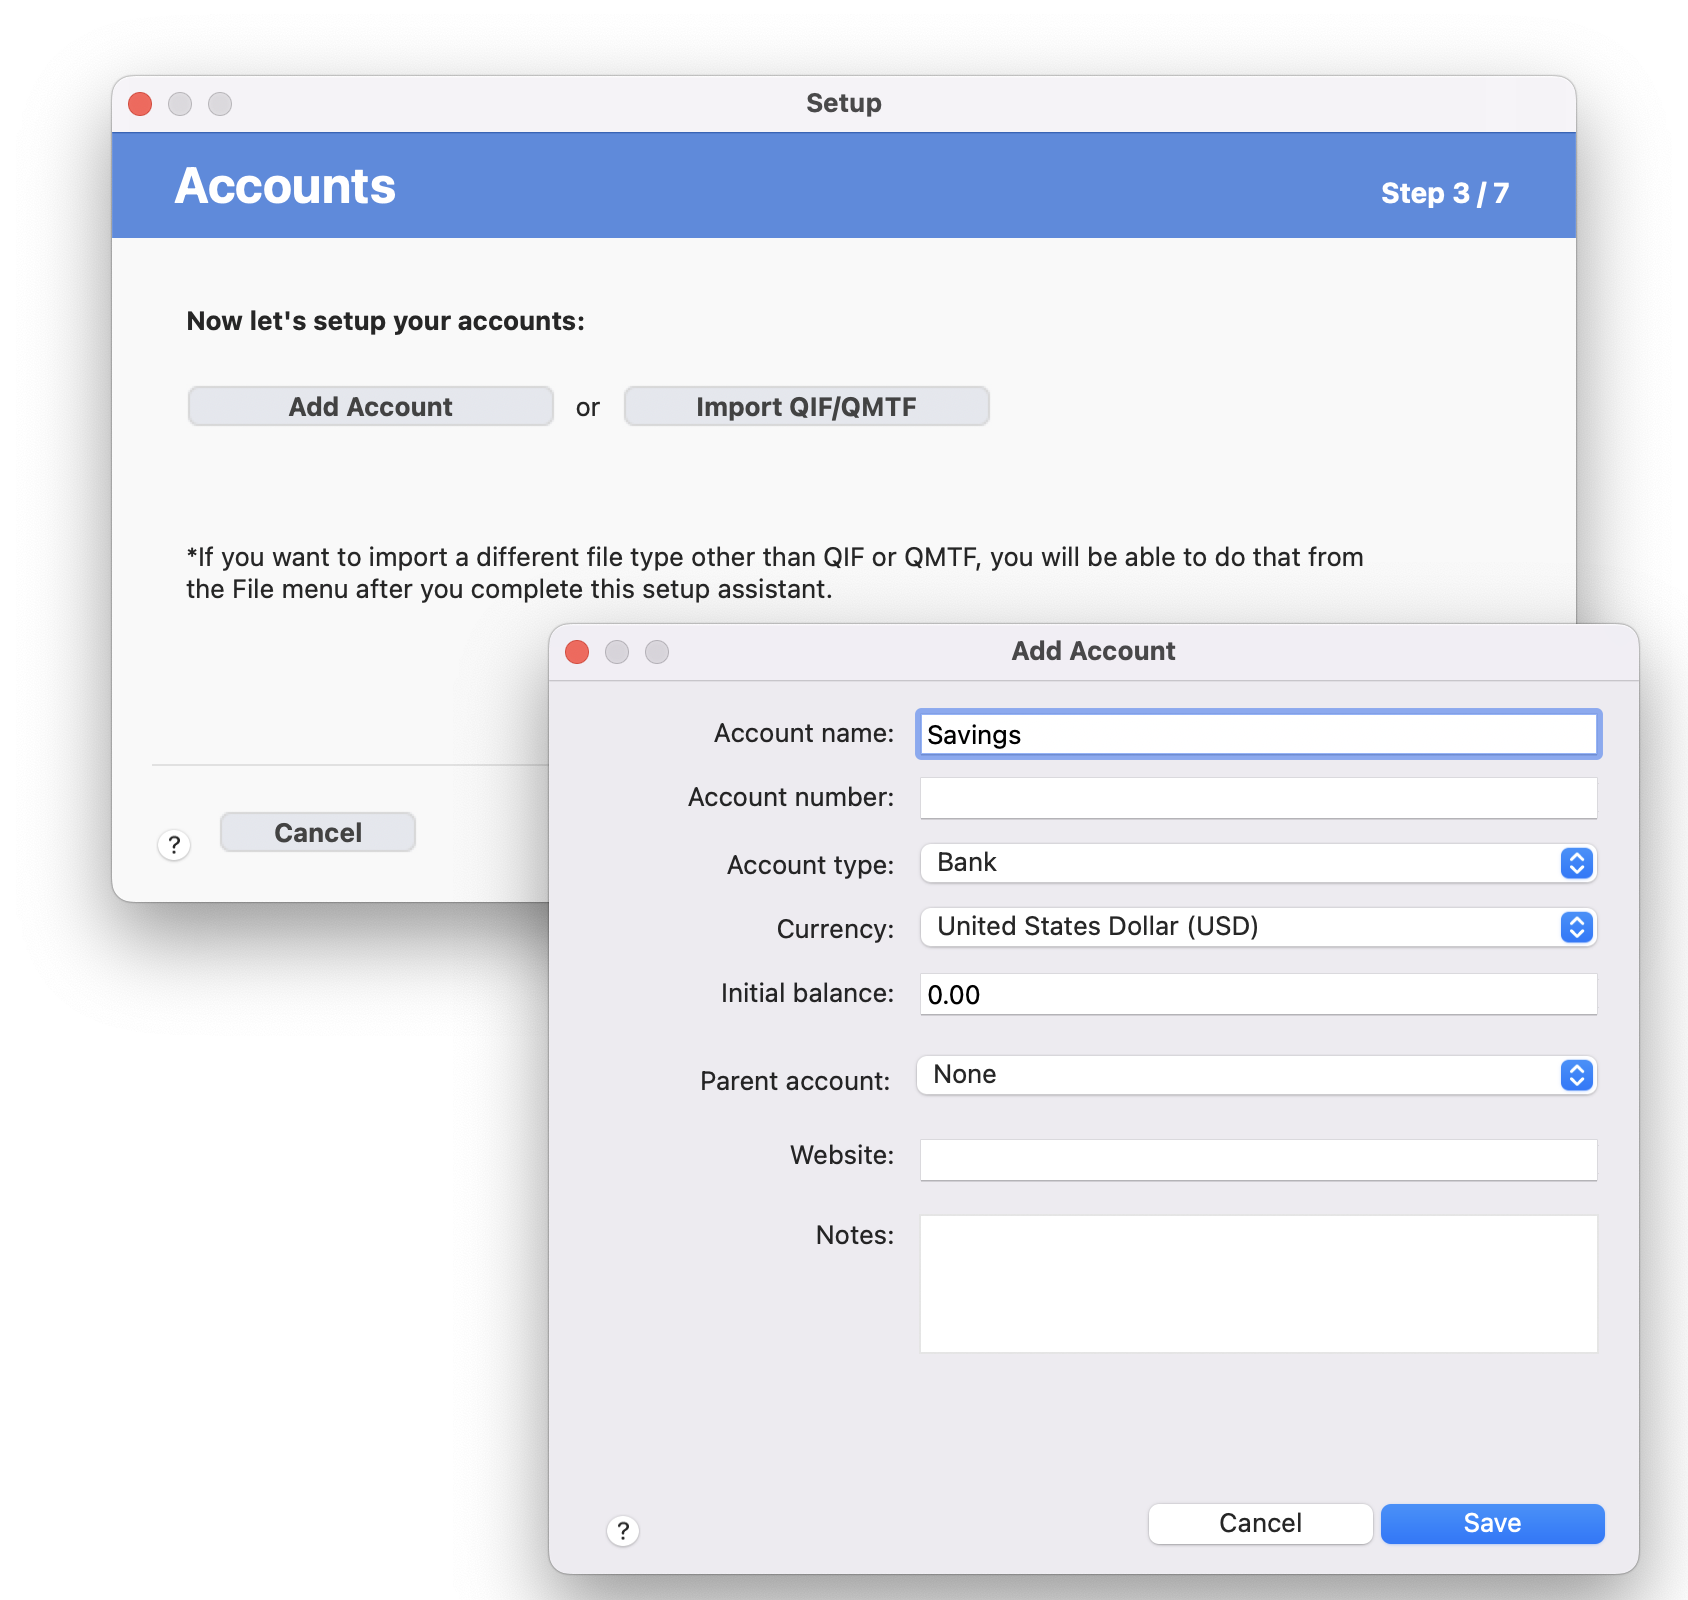
Step 3
In step 3, you have to setup your accounts, such as your bank accounts, credit cards, loans, etc. You must setup at least one account, and you can setup more accounts later. To setup an account, click the button labeled Add account. You can also choose to import your account data from a QIF or QMTF file (from another application) instead by clicking the Import QIF/QMTF* button. Once you are done setting up your accounts, click the Next button to proceed to step 4.
*If you want to import another file format than QIF or QMTF, you will be able to do that once you finish the setup. Once finished, you will be able to import the other file types by clicking one of the File > Import menu options.
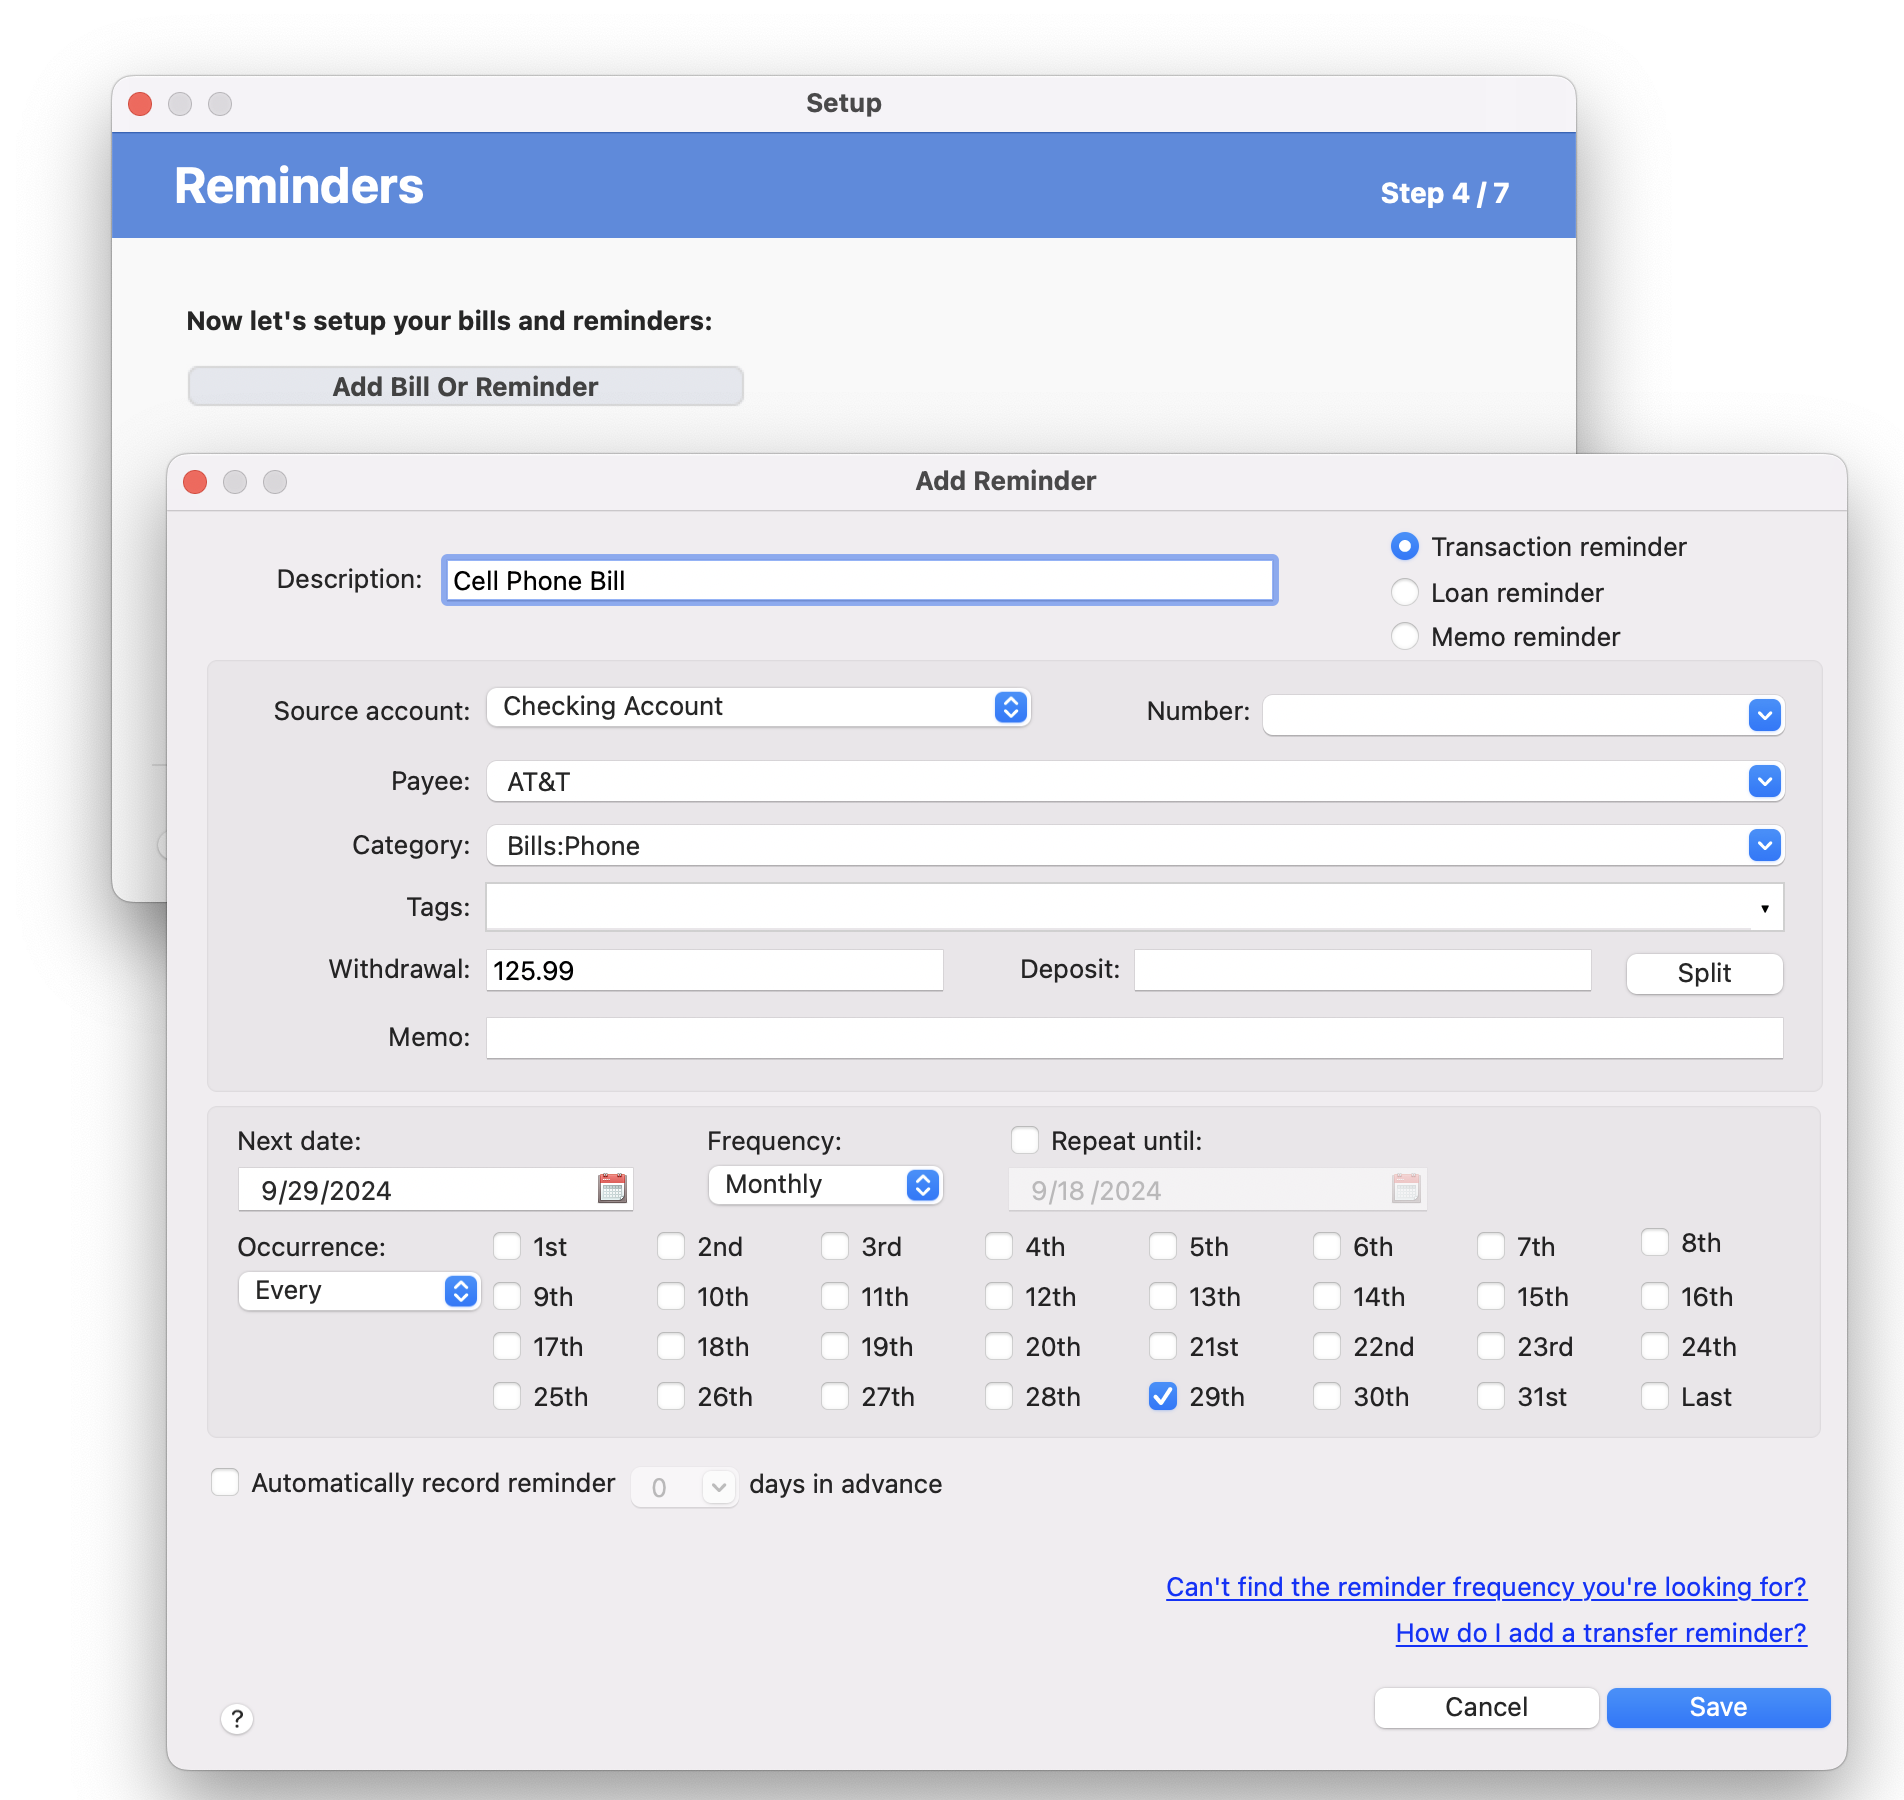
Step 4
In step 4, you can setup your reminders, such as your bill reminders and other general reminders. This step is optional, and you can add more reminders later. To setup a reminder, click the button labeled Add bill or reminder. Once you are done setting up your reminders, click the Next button to proceed to step 5.
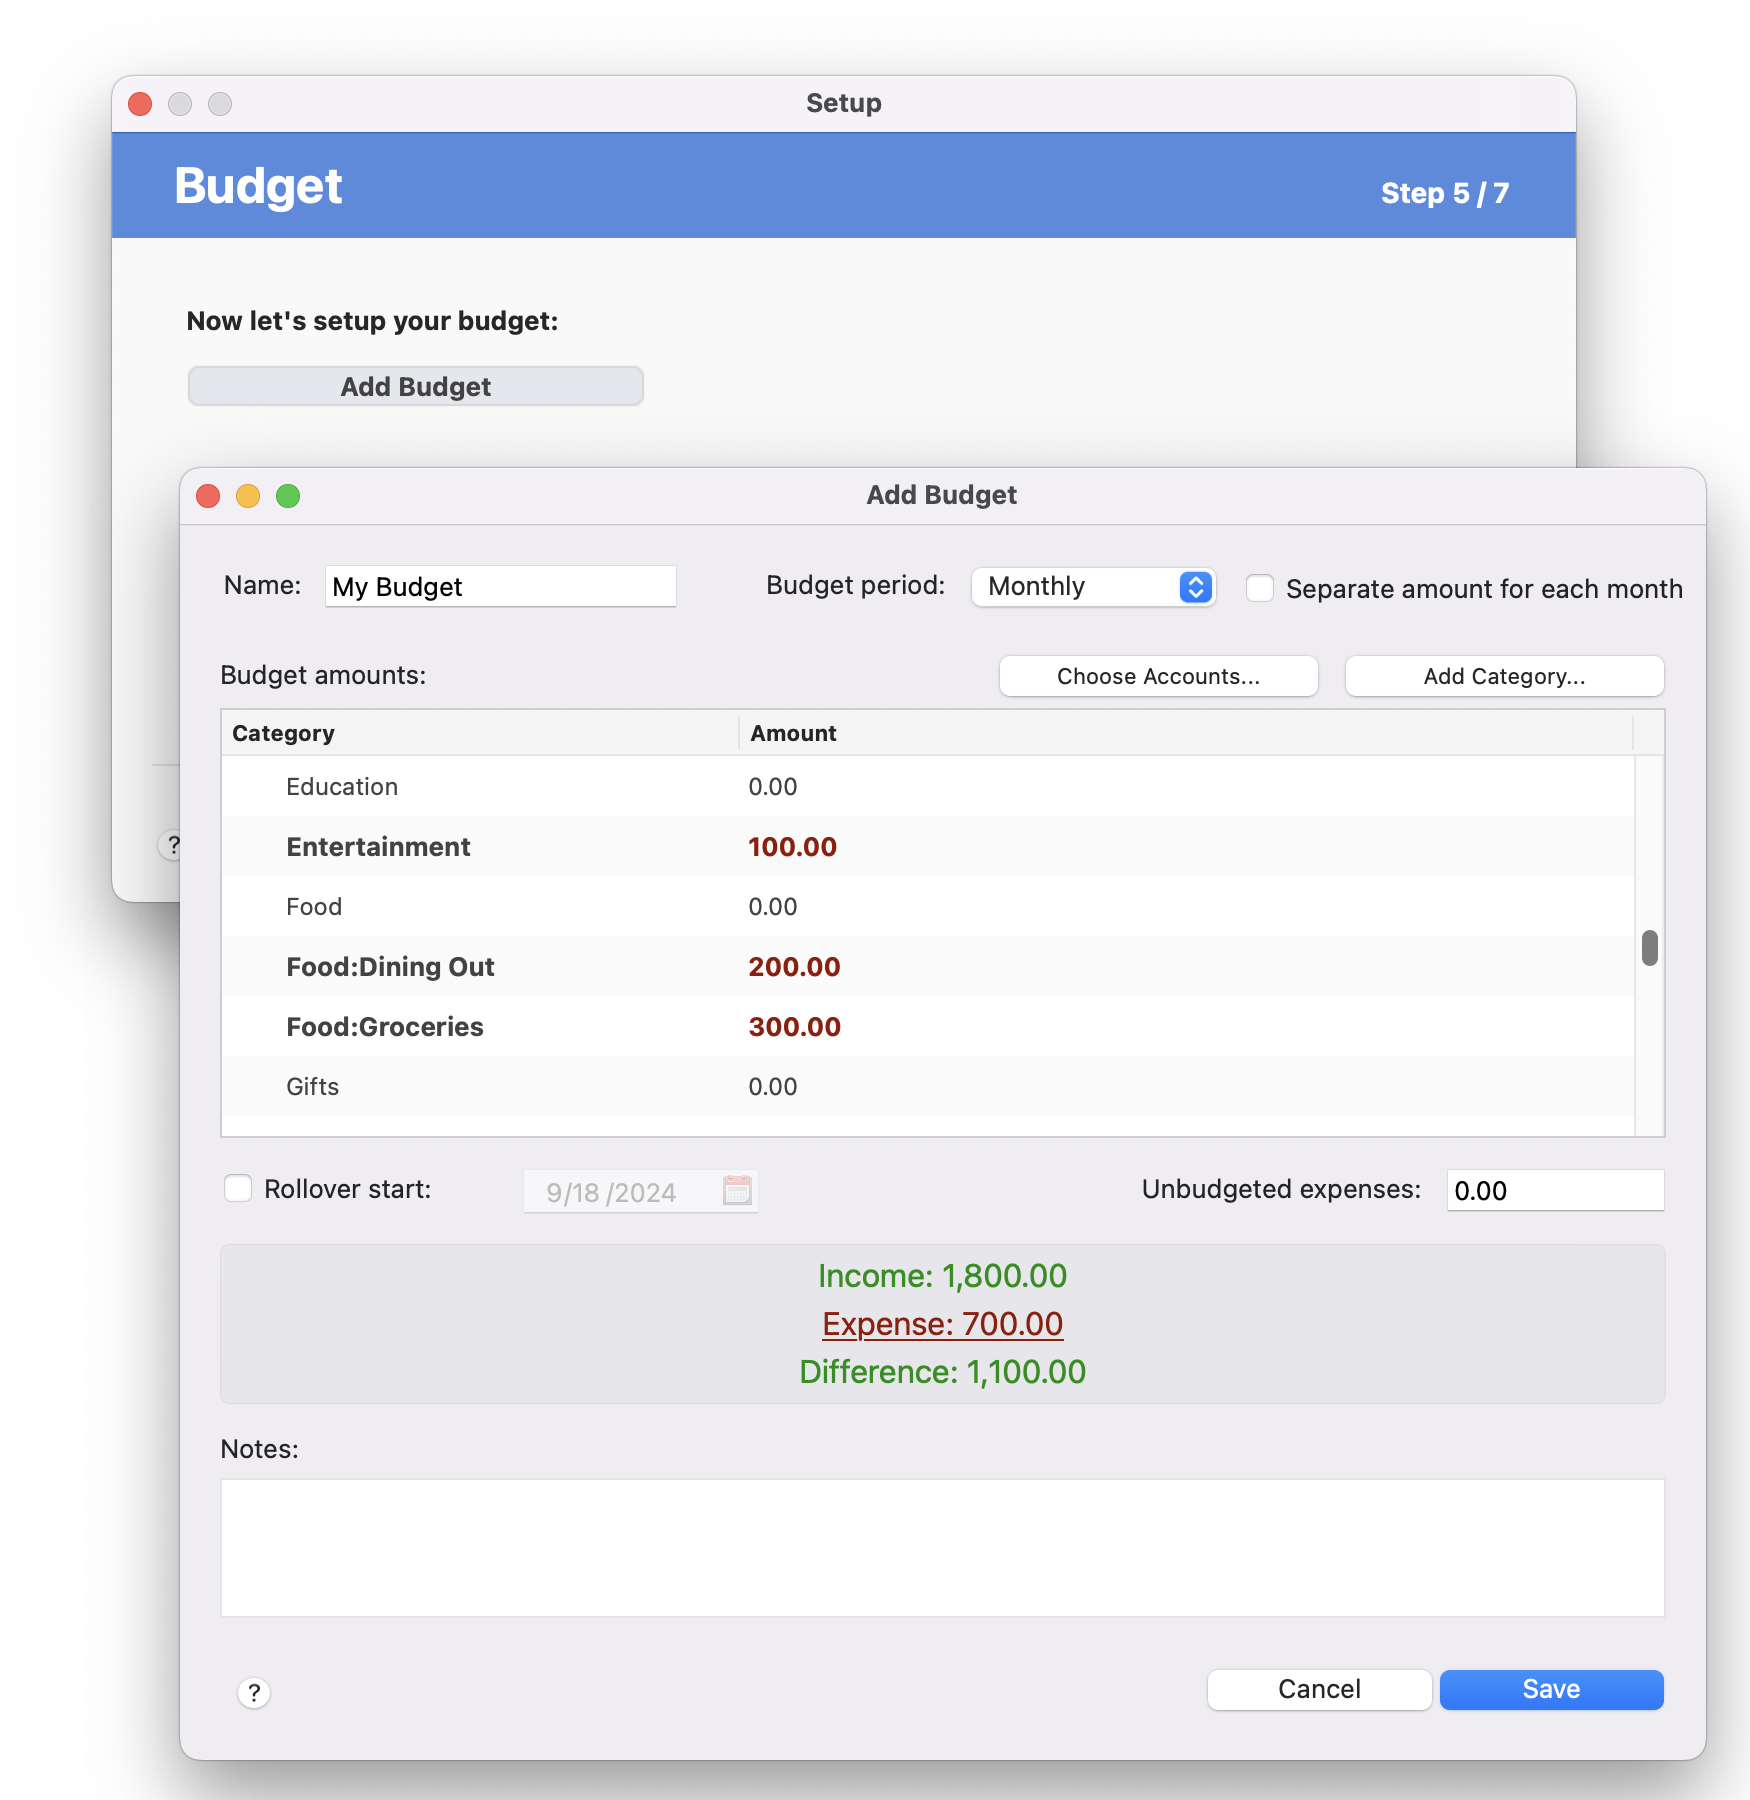
Step 5
In step 5, you can setup your budgets, which allows you to set your desired spending for a given period of time. For example, you can set a maximum of $175.00 for automobile fuel for one month, and then later compare your actual spending with your target spending. This step is optional, and you add more budgets later. To setup a budget, click the button labeled Add a budget. Once you are done setting up your budgets, click the Next button to complete the setup.
Step 6
In step 6, you can optionally set a password for your Moneyspire file.

*Please be sure to save your password in a safe place.
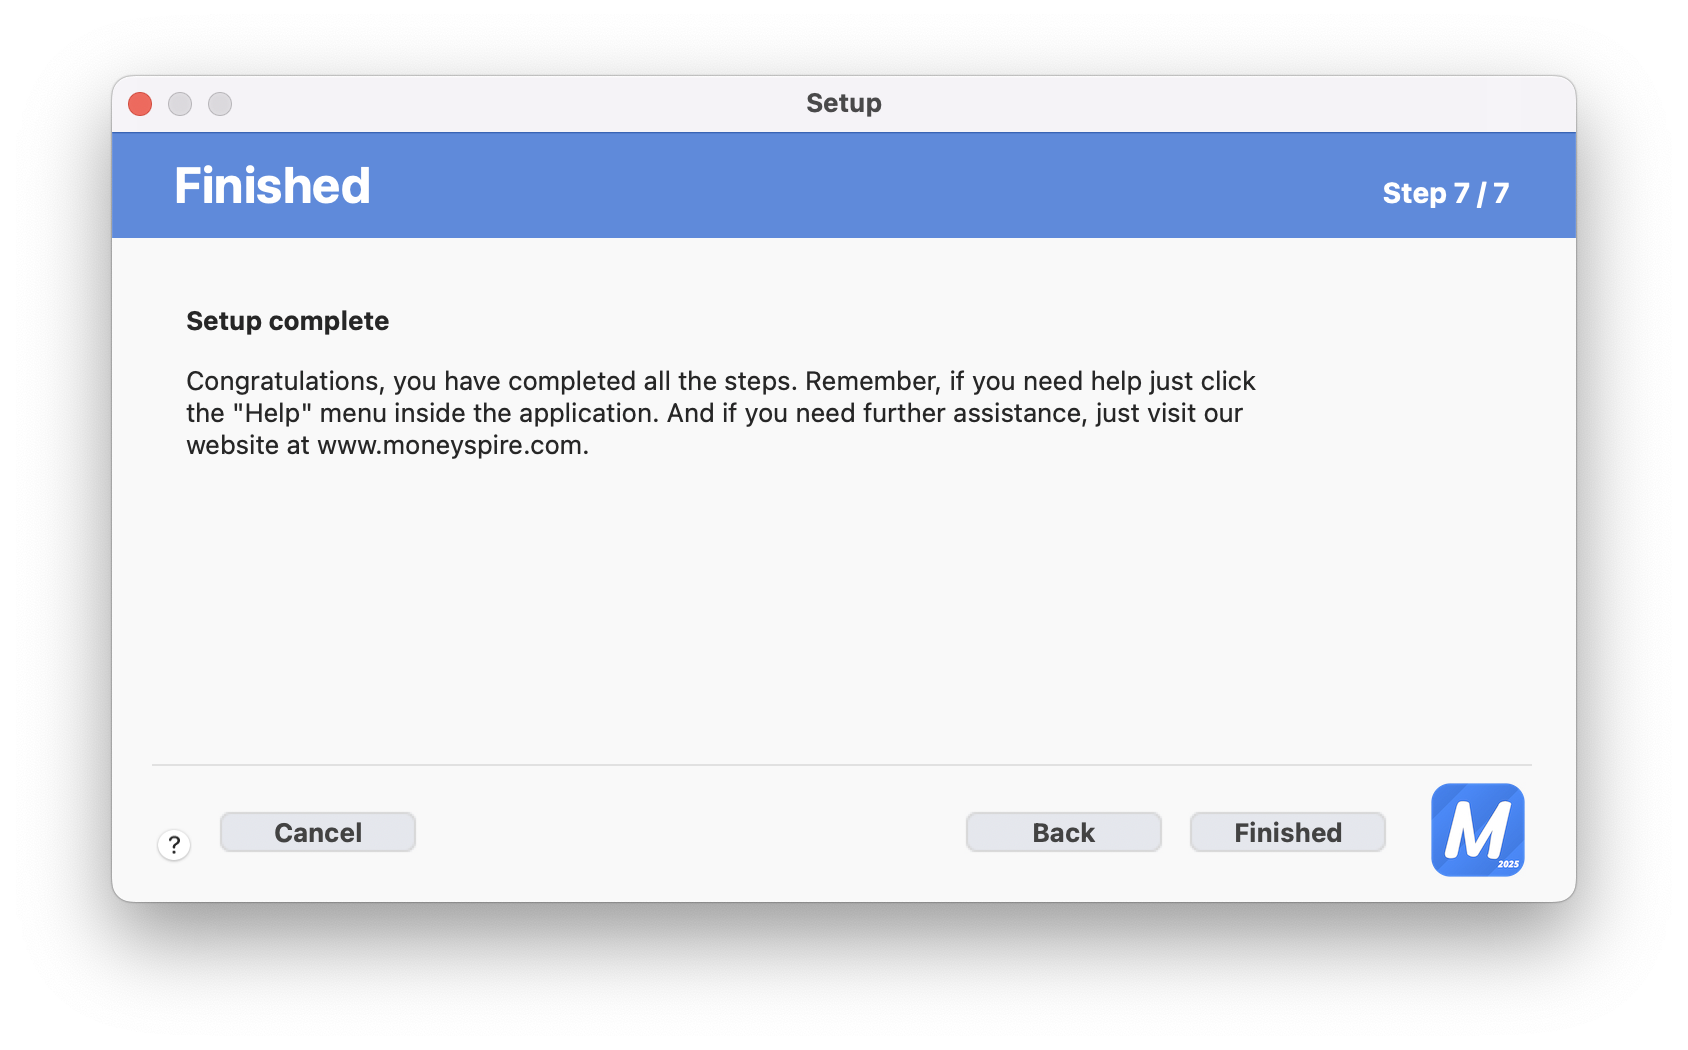
Step 7
In step 7, you have completed the process of setting up your new Moneyspire file, and you are ready to start using Moneyspire! Please click Finished to complete the setup assistant and proceed to the Moneyspire application window.
Important note
If at any point you need to start up fresh with a new data file you can click the File > New File menu option.